- September 07th, 2011
- /
- Black, Blue, Bright White, Brown & Bronze, Day-Of Event Ideas, Do-it-yourself Invitations, Favor Boxes, Gold, Green & Emerald, Ivory, Peach & Orange, Pink, Red, Turquoise, Yellow
- /
- 0 Comments
- /
- Fabulous Favors!
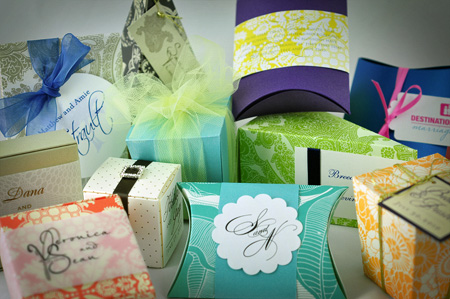 Since Favor Boxes were introduced a year and a half ago, we have enjoyed seeing the wonderful ways brides incorporate these into their weddings, and wanted to share a few of our “favor”-ite ideas for personalizing favor containers.
The Hanging Favor Tag
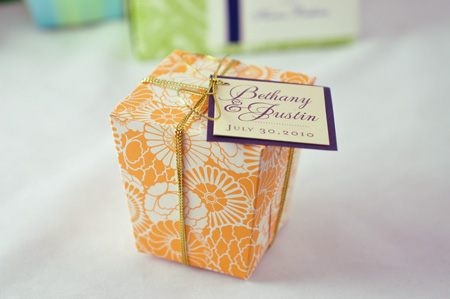
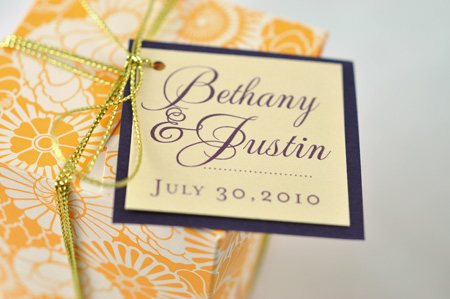
This little “Take Out” style container, is tied with gold cord and a square 1.75 x 1.75 printed monogram seal is mounted on a 2 x 2 backing. We used a small diameter punch like this one to create the hole in the tag for the ribbon.
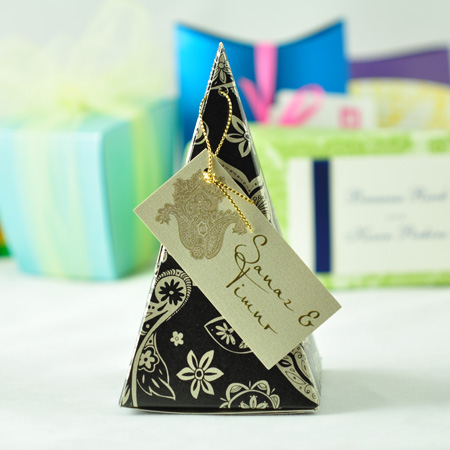
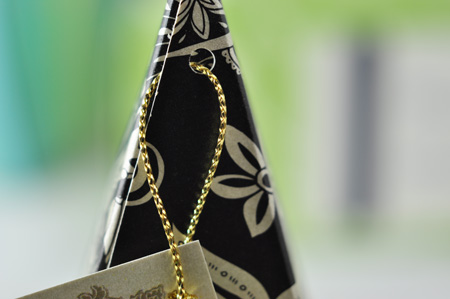
Using the ultra-cool “Pyramid” container, we had to get a little more creative with the hang tag.
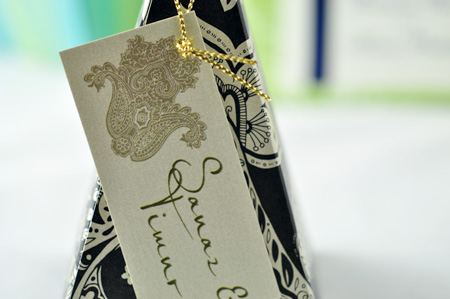
We used the 1/8″ punch on our 1 x 3″ tag to make a hole for our gold string.
Then, we punched another hole on the box (using the same 1/8″ punch on the tip of the last flap right before folding it in), thus creating an elegant way to hang the string on this uniquely shaped box.
The Die-Cut Favor Tag
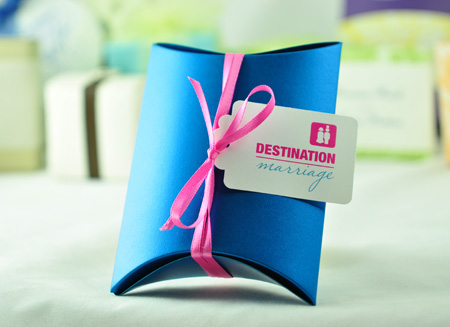
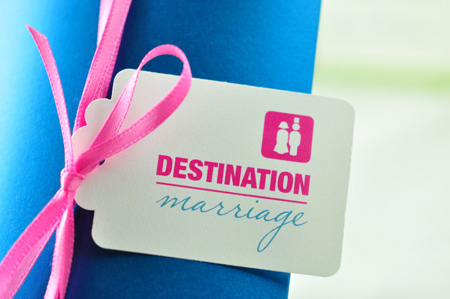
On this “Pillow” container, we used a bright pink 1/8″ ribbon wrapped a few times around and tied with a hand-punched tag. TIP: You need to print the tags several times on an 8.5 x 11 sheet of paper, then cut them out using the hand punch. We used one like this from Amazon. Then, we used a small diameter punch like this one to create the hole in the tag for the ribbon (two different punches).
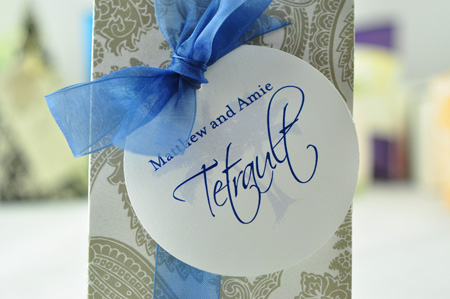
Here’s another example using a 3″ round die cut punch (like this one), and a 5/8″ sheer blue ribbon around the “Clutch” container. You could either use the 1/8″ punch or a 1/4″ punch (larger punch is easier with larger ribbon).
The Mounted Favor Tag
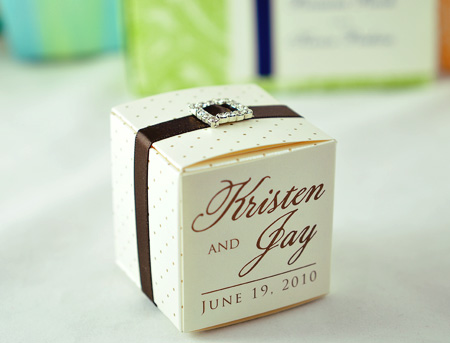
For our sweet “Bon-Bon” container, we flush-mounted a printed 2 x 2 tag (C1 Classic Ecru) directly on one side of the 2 x 2 box – it fits perfectly. Around the middle, we added a 3/8″ brown ribbon and a square rhinestone buckle. (Ribbon is taped together on the bottom using our double-stick tape.)
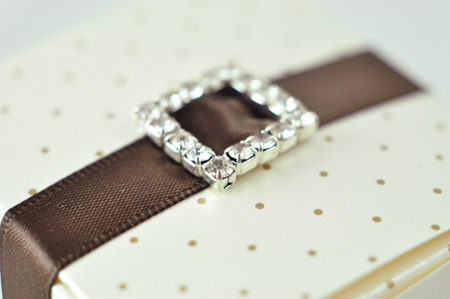 We love the extra touch and shimmer the buckle adds to this over-the-top favor!
The Printed Band Wrap
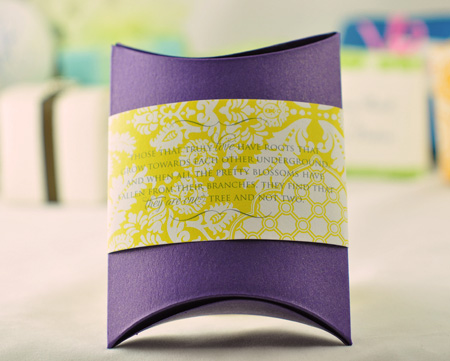
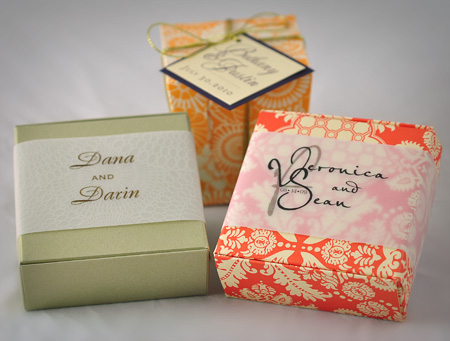 For the two boxes above, we printed on translucent vellum, then wrapped the printed strip around the box. You’ll need to print on an 8.5 x 11 sheet, then trim down with a paper cutter.
The box on the left features a C2 Champagnium “Tarte” box, with a V4 Kaleidoscope patterned Vellum.
The “Tarte” box on the right is in the C4 Crème Brûlée-BRO17 (Brocade Pattern) with a plain (non-patterned) vellum wrap.
You could also use a solid or patterned paper (not vellum) as shown around the “Pillow” box below as a bandwrap.
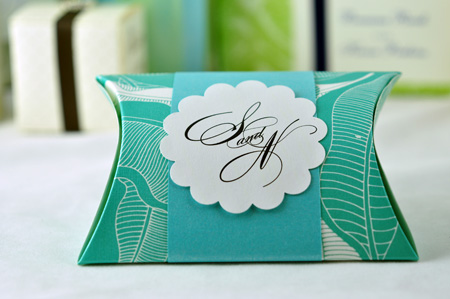
Here’s another idea – combining a paper wrap with a scalloped seal. The “Pillow” container is shown with a P2 Caspian Bandwrap, and a C1 Classic White seal cut from a 2.25″ Circle Scallop Punch.
The Icing Wrap
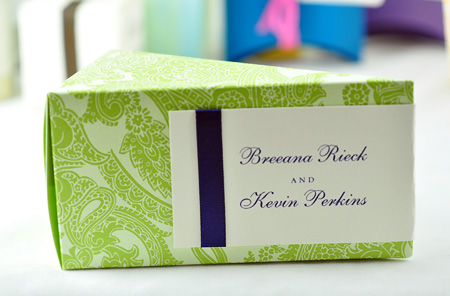
Sometimes you don’t need a bandwrap all the way around, as in the “Wedge” favor container above. This “icing” label wraps around partially on the other side, and we decorated ours with a slim navy satin ribbon. These labels are a snap for any shape box, but are especially great for favor containers in odd shapes that are less conducive to tying something around.
Our Icing Tutorial will give you the step-by step to create these easily at home. (The tutorial is showing how to make envelope addresses in Icing style, but you can make the jump to turn it into favor icing. If you don’t have a paper cutter, you’ll need one for making printed bandwraps as you have to cut down after printing.
The Recap
Here are links to the items you’ll need to make these fabulous favors at home… Well, everything except the surprise inside, and we’ll leave that up to you!
See available Favor Container colors here (available in all cardstock colors)
See Shapes & Sizes here (scroll to the bottom for favor container options)
Order Paper for Wraps here or Translucent Vellum here
Tape & tape gun for assembly (Use for mounting tags directly on the box, or adding wraps/labels. The boxes themselves do not require tape for assembly)
Rhinestones and Ribbon (Ask us if you don’t see what you’re looking for on the site yet. We can most likely order it for you.)
Click here for font ideas for your Favors
TIP on Printing:For favor tags, die cut tags, wraps and icing, print on a larger sheet first and cut down after printing.
****
Extra tools from Amazon:
You’ll need a 1/4″ or 1/8″ round hole punch (see sizes below) to add the hole for ribbon/string on each of the craft punches.
More Circle & Scallop Punch Sizes
—
1/8-Inch Round Hole Punch – hole punch for smaller ribbon/string
1/4 Inch Round Hole Punch – hole punch for larger ribbon
Paper Cutter – choose one that meets your needs
TIP on Hand Punching: It has been our experience that the large die cut hand punches (circles/scallops/etc.) do not work well on the heavier stocks, especially the metallics. Stick to using the paper stocks or C1 Classic White/Classic Ecru type stocks and they will work much better. The small 1/4″ & 1/8″ punches work fine on heavier stock. Be sure to print on the full size sheet and trim or punch after printing. We are an Amazon affiliate and appreciate it when you click on the links above to order.


